Document 206920
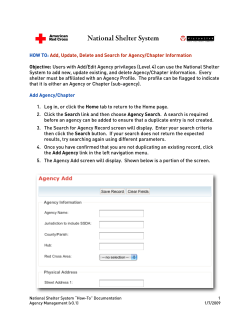
Online Giving A How To Guide Visit the Daystar Church website by going to www.daystargso.com. Click on the “Giving” tab at the top of the page Click on Give Online Enter your Login & Password Click Sign in If you do not already have a login or password, click on Register and then turn to pages 14-‐17 of this booklet and follow the instructions on how to set up your account. To “Give Now” without creating a giving schedule Click on Give Now 1) 2) 3) 4) 5) 6) Select Give to pull down option Select the Campus Enter a dollar amount Choose either Personal Check or Credit Card Enter your information Click Continue Verify all the information is correct Click Process this payment You will see “Your payment was successfully processed…” indicating that your gift was given. The contribution will show as pending until it clears You will receive an email confirmation similar to the example below. It will be sent to the email address you used to log into Online Giving. To create Reoccurring Giving Schedule Click on Schedule Giving 1) 2) 3) 4) Select Give to pull down option Select the Campus Enter a dollar amount Click Continue Select How often you’d like to give, Monthly, Weekly, etc. Fill in the date you’d like the schedule to Begin Check the End box if you’d like to indicate an end date for the schedule to stop Click Continue Select personal check or credit card and enter your information Then click continue Verify all the information is correct Click the Box indicating you understand that this will process your gift through your regular banking system and it will remain in effect until you modify it through the web interface or by contacting Daystar Church. Click Process this schedule Listed on the Giving Schedules tab will be the giving schedule you just created To Edit or Delete a Giving Schedule Click on the name of the schedule you’d like to edit or delete 1. Click Edit to edit the giving schedule 2. To delete a schedule, Click on Delete this schedule 3. To change a credit card, Click on Edit next to payment information 4. Click Edit to change the amount or where you’d like to give When you click on Delete this Schedule, a pop up box will verify this is what you want to do. Click yes if you are sure Under the Status, if it’s not green or if it doesn’t have a check mark in it, it is NOT active To register, fill in your first name and last name and which email you would like to use for your login. Please note that this email will be used to send you confirmation emails that you’ll be given. Please use YOUR email address and not that of another person in your household. You will receive an email to the email address you entered. Click on the link in that email to activate your account. Once you have clicked on the link in your email, you will be redirected back to the page that will let you know your account has been activated. You can now proceed to Online Giving, by clicking Your Giving. Return to page 5 for instructions on how to set up your online giving.
© Copyright 2025


